
Trapping or killing bats doesn’t work. They’re protected in every state we serve, and they have a strong homing instinct that brings them back to the same roost within days. The only permanent fix is exclusion: let the bats leave, then make sure they can’t get back in. Every bat job follows the same proven process.
Step 1
Full inspection and mapping
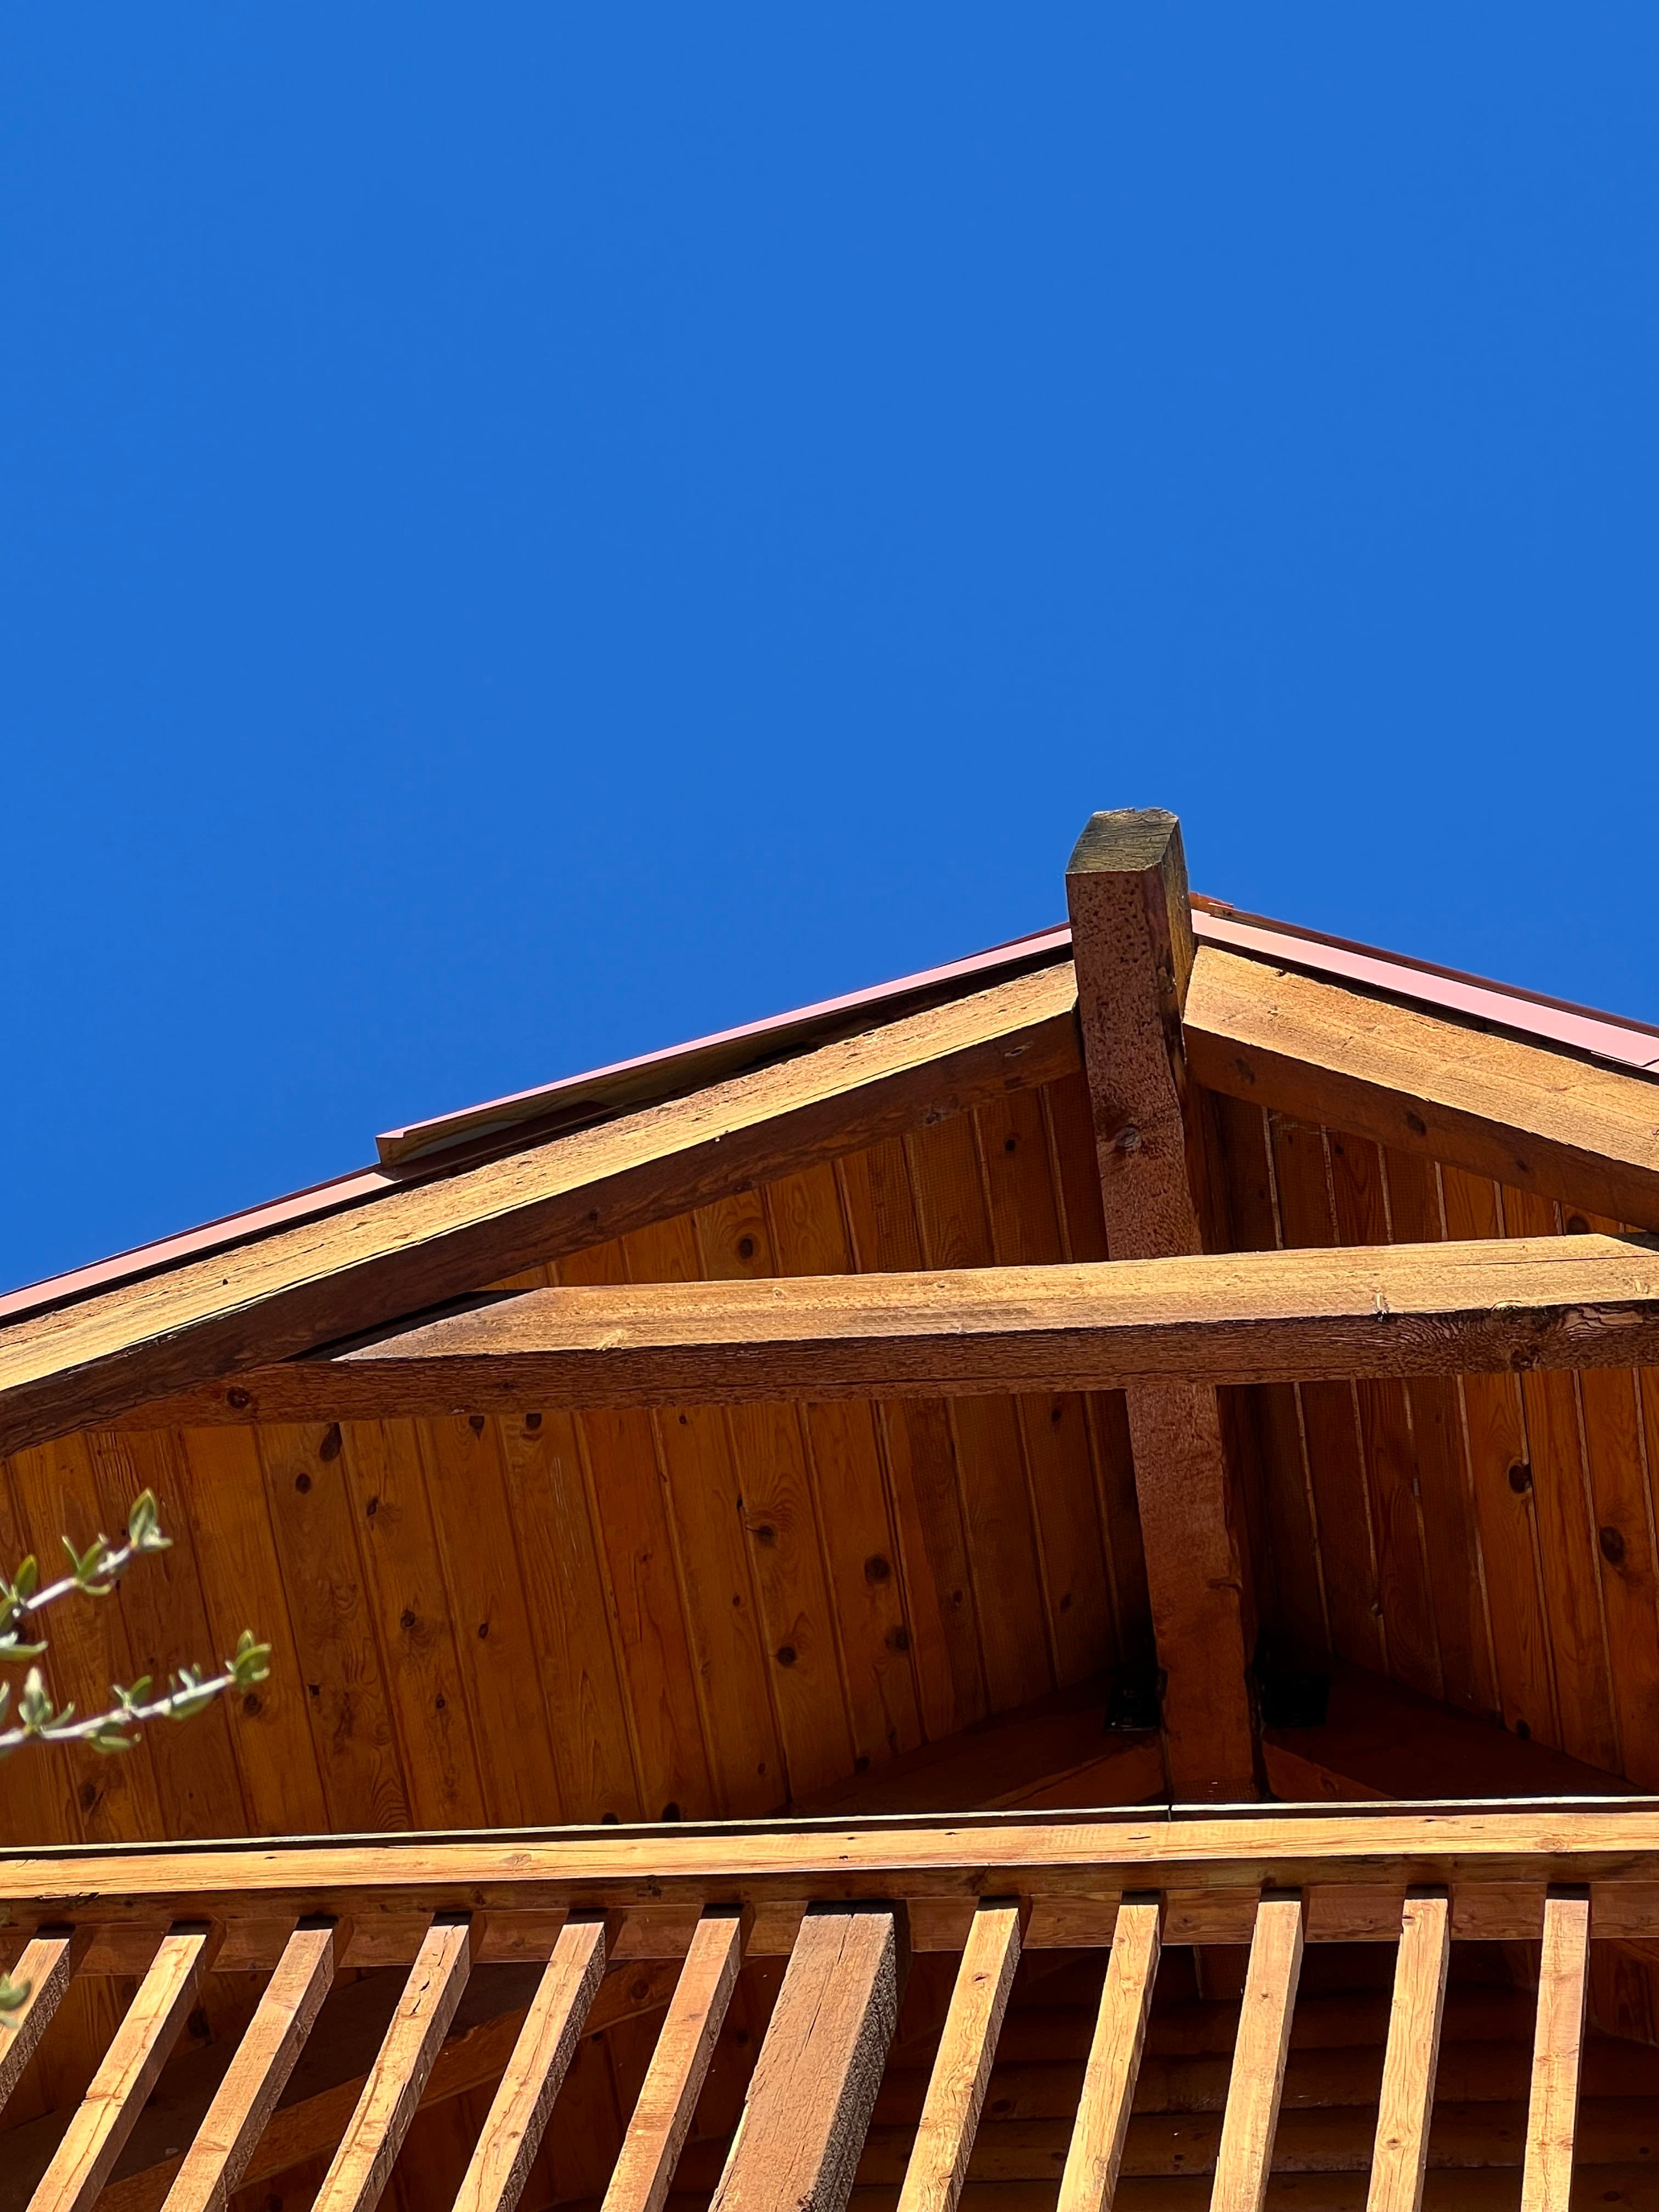
We inspect every roofline, fascia and drip-edge run, soffit return, log and timber joint, siding-to-masonry transition, vent, and utility penetration, from the ground, ladders, and optics. Every opening is photographed, numbered, and classified as primary (guano, urine and oil rub staining, odor, bats seen or heard) or secondary (an open gap bats will move to once the primary ones close). A bat needs only about 3/8" to get in, and many openings aren’t holes at all but continuous gaps running the length of a roofline. When needed, we check the attic, do a count at dusk, or recommend an infrared observation to find exact entry points.
Step 2
Check for pups
Before any exclusion during the warm months, we use an inspection camera in accessible attic areas to look for flightless pups or an active maternity colony. If pups are present, we wait until they can fly.
Step 3
A written proposal with clear options
You get the findings and photos, a scope of work, and pricing. On many jobs we offer both a targeted option (active entry points only, no re-entry warranty) and a whole-structure option (the complete building envelope, with our warranty), and explain the tradeoff. We can give you a price range over the phone, and remote properties can approve a range before we make the trip.
Step 4
Remove what doesn’t belong
If a previous company left failed one-way valves, degraded foam, or glue traps, we take them out. Shutters or trim that shelter roosting bats can be removed or sealed.
Step 5
Seal in the right order
Seal work and door placement are planned together, so every sealed section still leaves the bats a clear path to a one-way door and none are trapped inside. That’s also why we ask other contractors not to caulk or foam the problem areas before or during our work. We work top down: ridge caps and vents, drip edges, flashing, roof-to-wall transitions, chimneys, soffits, fascia, siding, masonry, window and door trim, beams, log checks and chinking, and utility penetrations. We match the material to the gap:
- Gaps 1/8" and up: clear, paintable exterior sealant, invisible from the ground
- Larger gaps, panel seams, and metal-roof ribs: custom-cut compressed foam or black rigid foam set flush, then sealed
- Log and timber joints: flexible sealant and chinking that moves with the wood through the seasons
- Vents, chimneys, and big voids: copper or stainless mesh, 1/4" galvanized hardware cloth, flashing, and bat-proof chimney caps
- Brick and stone: mortar repair where needed
- Weep holes get proper covers and are never sealed solid
Step 6
Install custom one-way doors on the active exits
We build and fit one-way doors, cones, or netting valves to each active roost location. Bats fly out at dusk to feed and can’t get back in. No bats are handled, trapped, or harmed.
Step 7
The exclusion period
Not every bat leaves every night, so small colonies usually get 3–5 days and larger ones 7–10. We extend the period in bad weather. Keep doors and windows closed during this time, because bats will look hard for another way back in. If bats turn up somewhere new, we come back, find the missed gap, seal it, and restart the clock.
Step 8
Return visit and final seal
We confirm activity has stopped through timing, observation, and checks below the old exits. Then we remove the doors and permanently seal those last openings to match the rest of the work. We walk the whole structure again, check the attic for stragglers, and treat the entry areas with disinfectant. For remote properties, this happens on our next scheduled route through your area at no extra charge.
Step 9
Completion report and warranty
You get before-and-after photos of every sealed location, a written summary, and your warranty with its completion date. On commercial jobs we do a final walkthrough with your facilities team.
Step 10
Our quality standard
Every seal is smooth, continuous, and color-matched where it can be seen. A flashlight test from the attic should show no daylight. We’re done when we’d put our own warranty on the work, because we do.
Repairs that blend in
Sealing should disappear into the building—not announce itself as a patchwork of mismatched foam. We match material and finish to what is already there so curb appeal survives the job and the seal holds through inland freeze-thaw and summer sun.
- Clear, paintable exterior sealant on gaps 1/8" and up—invisible from the ground when it can be
- Custom-cut compressed foam or black rigid foam set flush on larger gaps, panel seams, and metal-roof ribs, then sealed
- Flexible sealant and chinking on log and timber joints that move with the wood through the seasons
- Copper or stainless mesh, 1/4" galvanized hardware cloth, flashing, and bat-proof chimney caps on vents, chimneys, and big voids
- Mortar repair on brick and stone where needed; weep holes get proper covers and are never sealed solid
- Stucco and paint blending available so patches texture and color-match the surrounding wall